


Steps
-
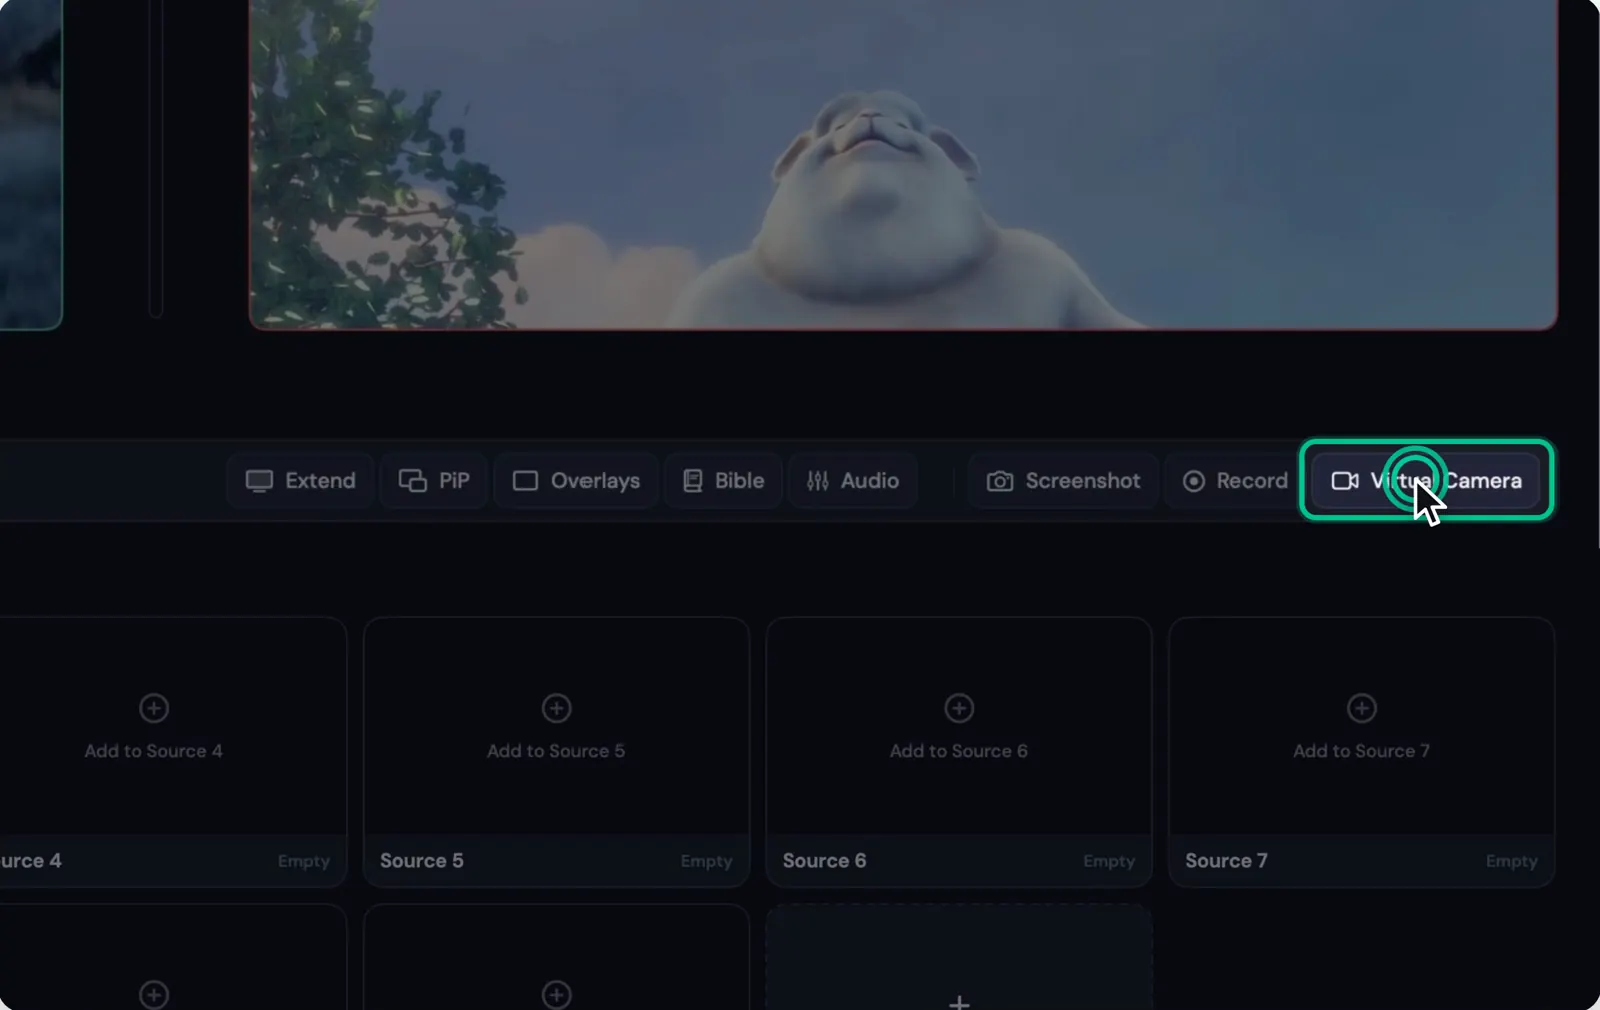
Step 1: Click Virtual Camera
Click Virtual Camera in Studio. The first time, macOS asks once to install the camera.
-
Step 2: Approve it in System Settings
If Studio says macOS needs your OK, click Open Login Items & Extensions. Under Camera Extensions, turn on Stream24 Studio. You only do this once.
-
Step 3: Pick Stream24 Studio in your meeting app
When the button shows the green dot, choose Stream24 Studio as the camera in Zoom, Meet, Teams or OBS. It shows Program.

-
Step 4: Stop sending
Click Stop Sending Program. The camera stays in the list and shows a waiting picture until you send Program again.
Good to know
- Meeting apps mirror your own preview. The other people see it the right way round.
- If Zoom, Meet or Teams was already open when you installed the camera, quit it fully and open it again.
Messages you might see
Move Stream24 Studio into the Applications folder and open it from there; macOS only installs cameras from Applications.
macOS needs your OK. In System Settings → General → Login Items & Extensions, open Camera Extensions and turn on Stream24 Studio.
Stream24 Studio is approved, but the camera process is not running, so Zoom, Meet and QuickTime cannot list it. Restart the Mac once.
macOS needs an administrator to allow the virtual camera.
This Mac's device management does not allow new camera extensions
Your plan does not include the virtual camera.